Join our newsletter
Be the first to know about new features and product updates.
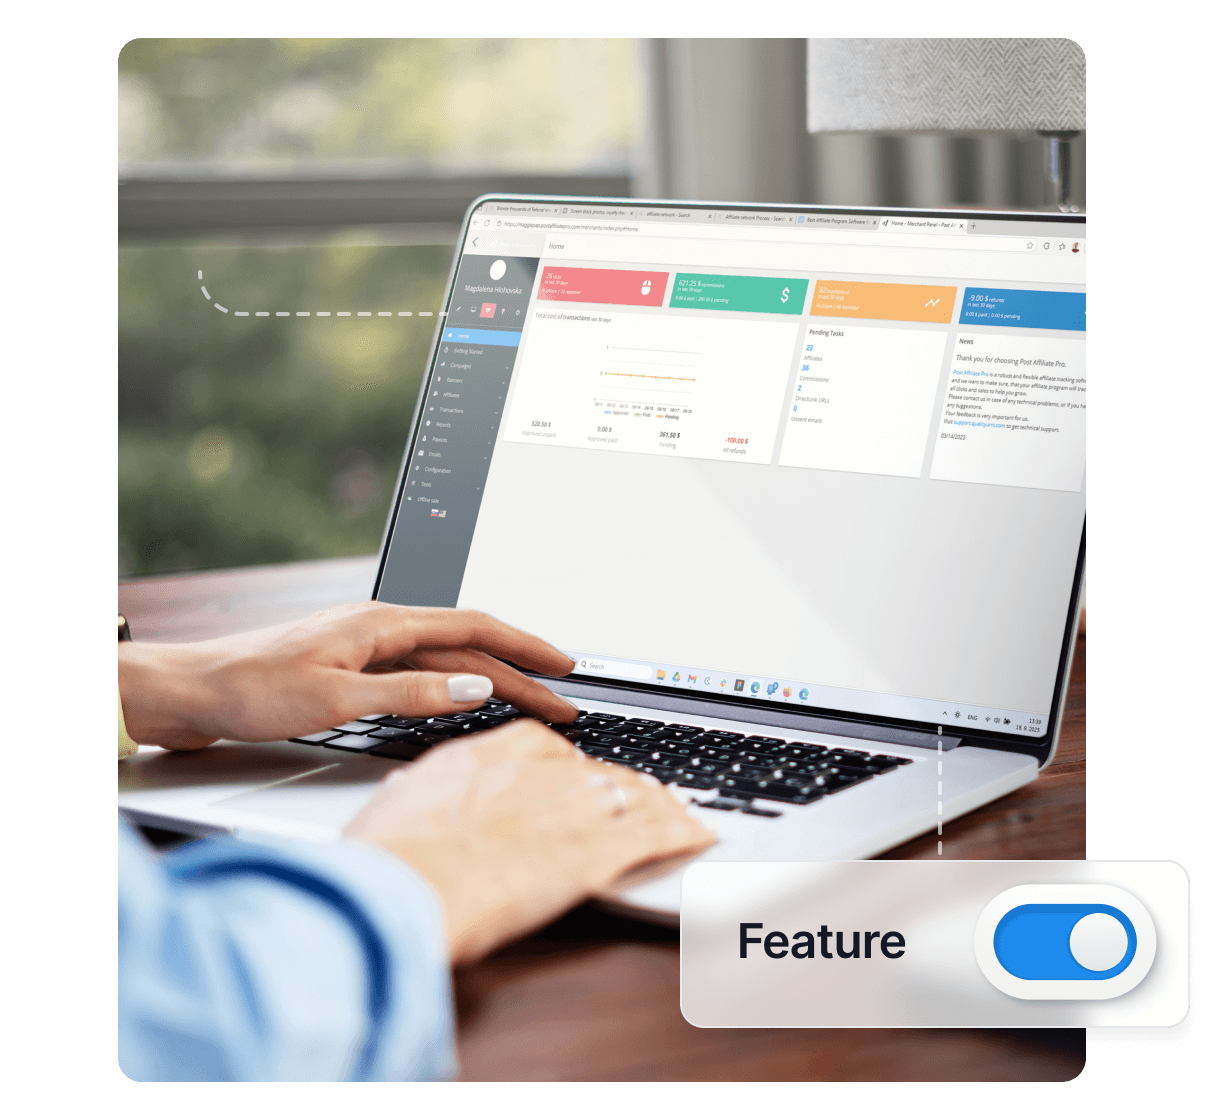
MemberMouse integration
MemberMouse is an easy to use WordPress membership plugin that allows you to sell products, subscriptions and memberships, setup a password protected member’s area, offer 1-click upsells and downsells, manage customers, automate customer service
, track critical retention metrics and more.
No matter where you’re starting from, MemberMouse has the power you need to maximize revenue and get your business running like a well-oiled machine.
How to integrate PostAffiliatePro with MemberMouse
The integration plugin can create an affiliate automatically, decline or approve them. It registers orders and supports order ID, per product tracking with SKU, Lifetime Commissions
and coupons.
Custom field
Navigate to your WP MemberMouse > Checkout settings and create a new Custom Field. When creating it, you can name it the way you want, the checkbox for ‘Show on My Account Page‘ should stay unchecked. The type of the field has to be set to ShortText.
When you are done, save your new custom field and then click the ‘Checkout SmartTag‘ to find out the custom field ID – you will need it later.
Copy the SmartTag code and place it to your checkout page. The final change is to hide the field – add type=’custom-hidden’ attribute to it. This is an example of the result code:
[MM_Form_Field type='custom' id='4' isRequired='false' class='' type='custom-hidden']
As you can see, the field ID is 4 in our example.
After you placed the new custom field code to your order form, we need to make sure the hidden field is loaded with an affiliate tracking
value automatically. The following code will do it:
<script id="pap_x2s6df8d" src="https://URL_TO_PostAffiliatePro/scripts/trackjs.js" type="text/javascript"></script>
<script type="text/javascript">
PostAffTracker.setAccountId('Account_ID');
PostAffTracker.track();
PostAffTracker.writeCookieToCustomField('mm_custom_field_N');
</script>
First of all, make sure the code:
mm_custom_field_N
is set to your custom field number – following our example with ID 4, the code would be:
mm_custom_field_4
Place the script to your checkout page, somewhere below the custom field code.
Push notification setup
Navigate to your WP MemberMouse > Developer tools and create a new push notification – the plugin processes member notifications and payment notifications, so you can create a notification for each of these:
Member Added, Member Account Updated, Member Deleted, Payment Received, Rebill Payment Received, Refund Issued.
In case of the action, choose ‘Call a custom script‘ and use this URL for it:
https://URL_TO_PostAffiliatePro/plugins/MemberMouse/membermouse.php
That’s it. Save your work.
Activate the plugin
The last step is to login to your merchant panel and activate the plugin. When activated, make sure you configure it and set at least the correct custom field ID. Otherwise the plugin won’t work.
Do not forget to integrate your WordPress with the click tracking code.
What is MemberMouse?
MemberMouse is a powerful WordPress membership plugin designed to help businesses manage memberships, subscriptions, and digital product sales with ease. It enables website owners to protect content, manage users, and optimize revenue streams by integrating seamlessly with other WordPress functionalities.
Founded in 2009 by Eric Turnnessen, MemberMouse has evolved into a sophisticated membership management solution. Over the years, it has developed a comprehensive set of features catering to businesses of various sizes and has gained a reputation
for robust functionality and reliable customer support
.
MemberMouse primarily targets online content creators, educators, and businesses operating membership models. It’s designed for those needing to secure and monetize digital content, making it ideal for educators and coaches offering courses, content creators seeking to restrict access to premium offerings, e-commerce businesses, and exclusive online communities.
Key Features of MemberMouse
- Membership Levels and Bundles with MemberMouse: Create custom membership plans with varied access permissions to suit different user needs.
- Content Dripping in MemberMouse: Deliver content over time to increase engagement and decrease churn rates among members.
- Advanced Reporting Tools by MemberMouse: Utilize tools to evaluate sales, membership trends, and member activity for better decision-making.
- Automated Billing through MemberMouse: Supports recurring subscriptions and one-time purchases via major payment gateways for seamless transactions.
- Personalization with MemberMouse SmartTags: Personalize member experiences and easily adapt content display to enhance user engagement.
- Integration Capabilities of MemberMouse: Interfaces with many third-party tools and CRM systems to extend functionality and improve workflow.
MemberMouse Pricing Options
MemberMouse offers several pricing tiers to cater to different business sizes:
- Builder Plan: Priced at $29/month for up to 1,000 members.
- Advanced Plan: Available at $79/month for up to 5,000 members.
- Premium Plan: At $199/month for up to 10,000 members, this plan includes additional features and dedicated account management.
User Insights: Pros and Cons of MemberMouse
Pros of MemberMouse:
- Rich Feature Set: Ideal for comprehensive management at scale, offering a wide range of functionalities.
- Detailed Analytics: Robust analytics and reporting capabilities to monitor performance and growth.
- WordPress Integration: Efficient and seamless integration with WordPress enhances usability.
Cons of MemberMouse:
- Learning Curve: Notable learning curve, especially for beginners unfamiliar with such platforms.
- Pricing: May be considered steep for smaller businesses or startups with limited budgets.
- Setup Complexity: Potential complexity in setup for larger implementations requiring extensive customization.
Alternatives to MemberMouse
If you’re exploring other options, consider these alternatives:
WooCommerce Memberships
MemberPress
Restrict Content Pro
Paid Memberships Pro
- A free WordPress membership plugin for premium content sites.
- Visit Website